Bentley Trike Assembly Instructions
Easily assemble your Bentley Trike with our step-by-step guide. Follow the instructions to ensure a smooth setup and get your little one riding in no time!
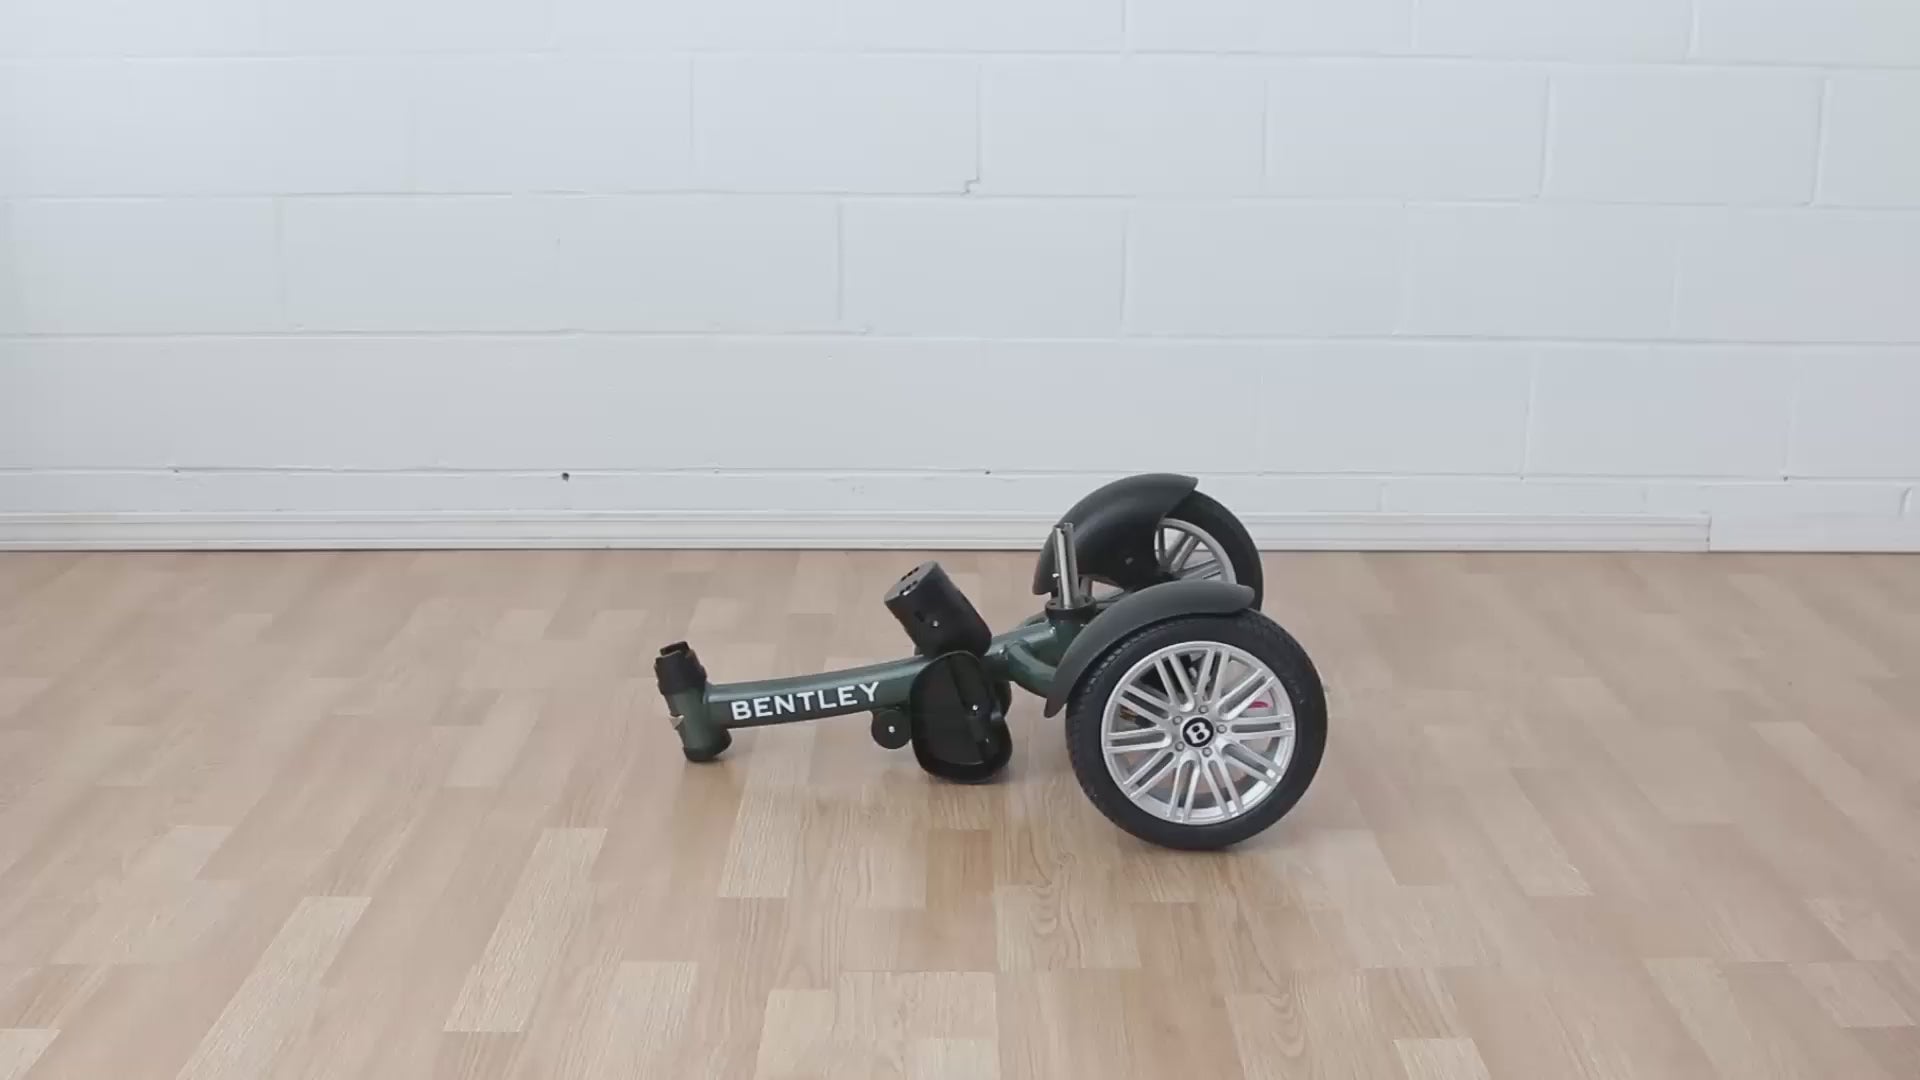
READY TO UNBOX?
You will find these parts included in your box. Every tool you need to put together your new Bentley Trike comes neatly organized in your box. Simply follow the steps to put it all together.


Step-by-Step Guide
Assemble your Bentley Trike with ease using our detailed step-by-step guide. From unboxing to the final touches, we’ll walk you through every step to ensure a smooth and hassle-free setup.

Step 1
Insert the Front Wheel (C) into the frame (A).

Step 2 (A)
Insert the handle bar (B) into the frame (A) and tighten with the provided allen key.
Step 2 (B)
Pair text with an image to focus on your chosen product, collection, or blog post. Add details on availability, style, or even provide a review.

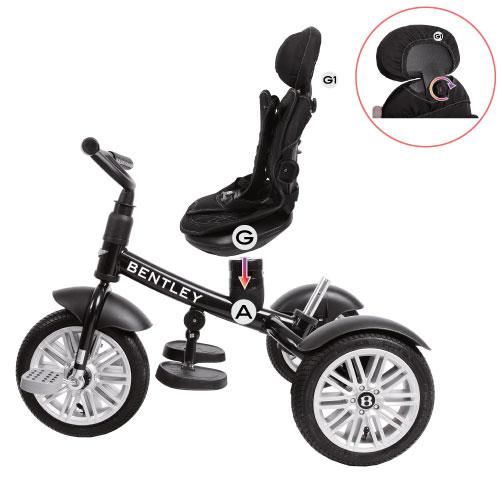
Step 3
Install the seat (g) onto the frame (a) and the headrest bracket (g1) into the seat (G). Tighten the plastic bolt to ensure a secure fit.
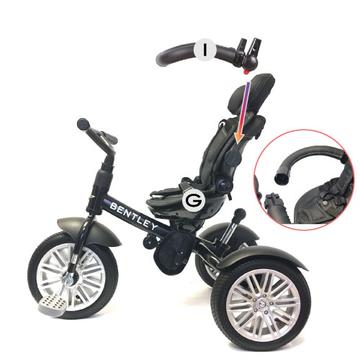
Step 4
Insert the safety guard (I) into the seat (G). The safety guard snaps in at the front. press down on both sides to release and open.

Step 5
Insert the canopy (e) into the sides of the safety guard (i).
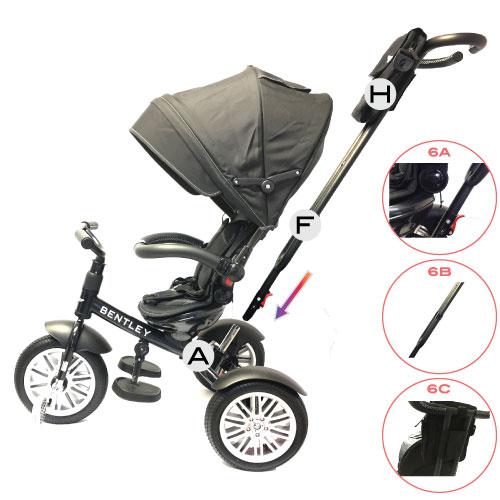
Step 6
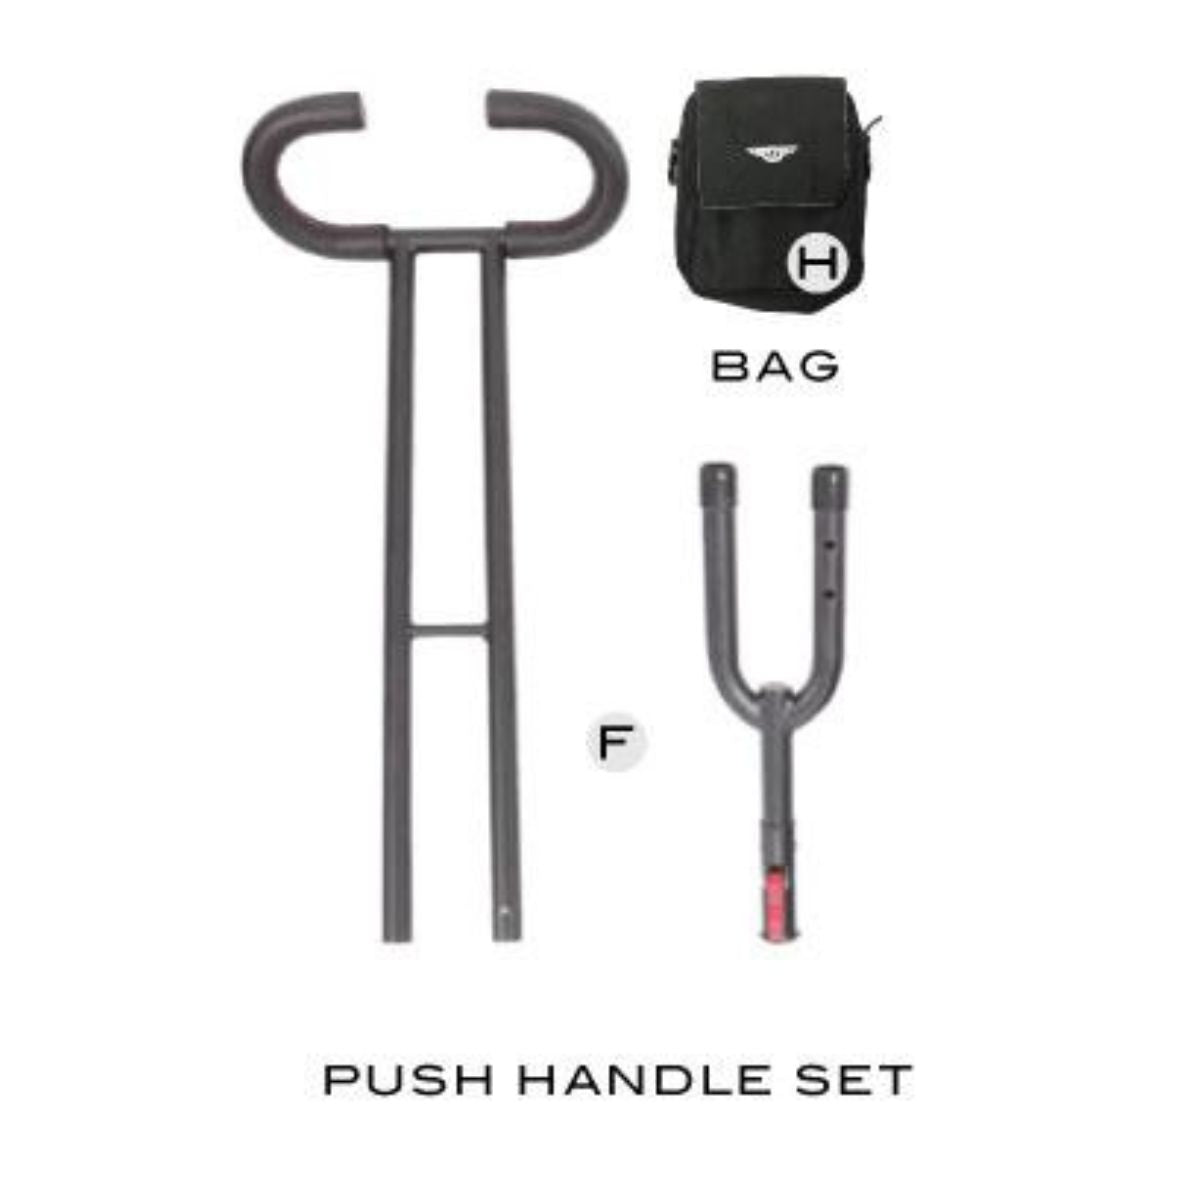
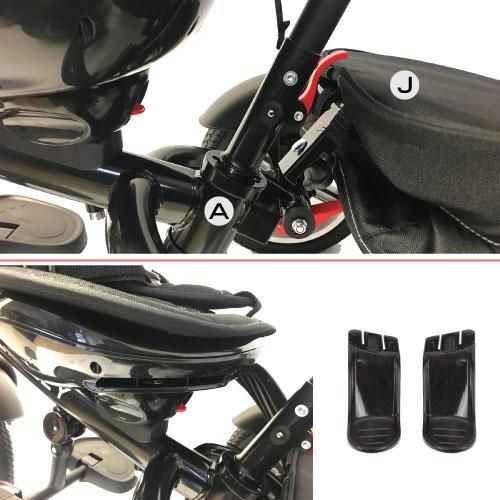
Insert the pushbar (f) into the frame (a), lock the lever, and attach the bag (h). 6A: Slide the push handle (f) into the frame (a) with the red lever down, then lift to lock. 6B: Connect the top and bottom push handle parts, adjusting the height as needed.
Step 7
Insert the basket (j) onto the back of the frame (a). It will self tighten with the magnetic clip that is built in.
Then insert the infant footrests if needed into the slots under the seat cushion as pictured above.
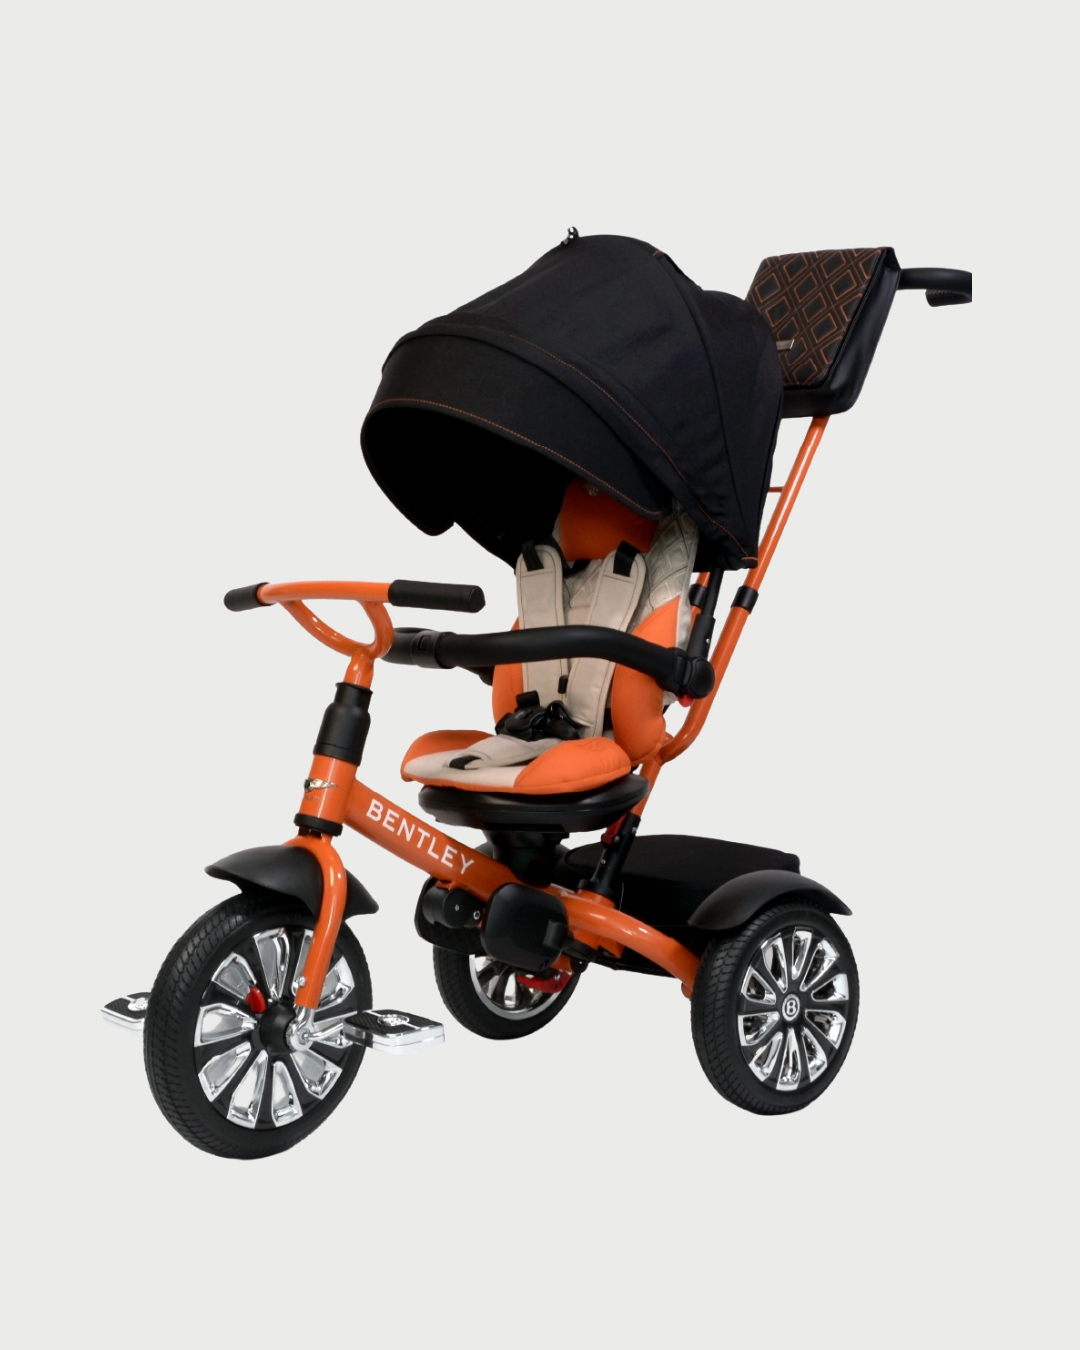
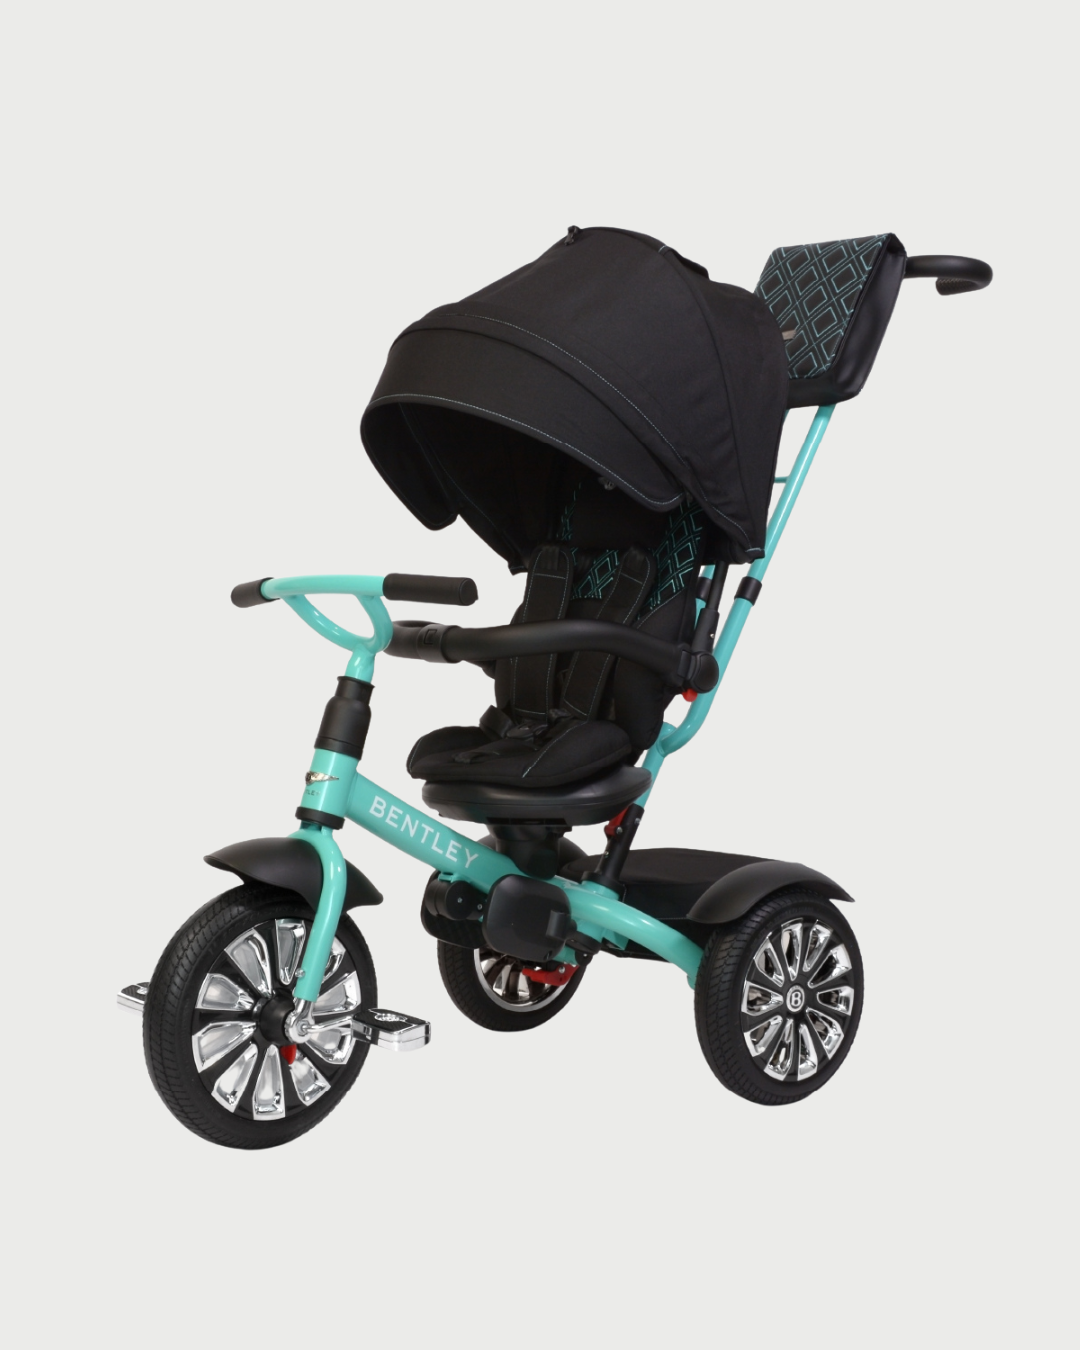
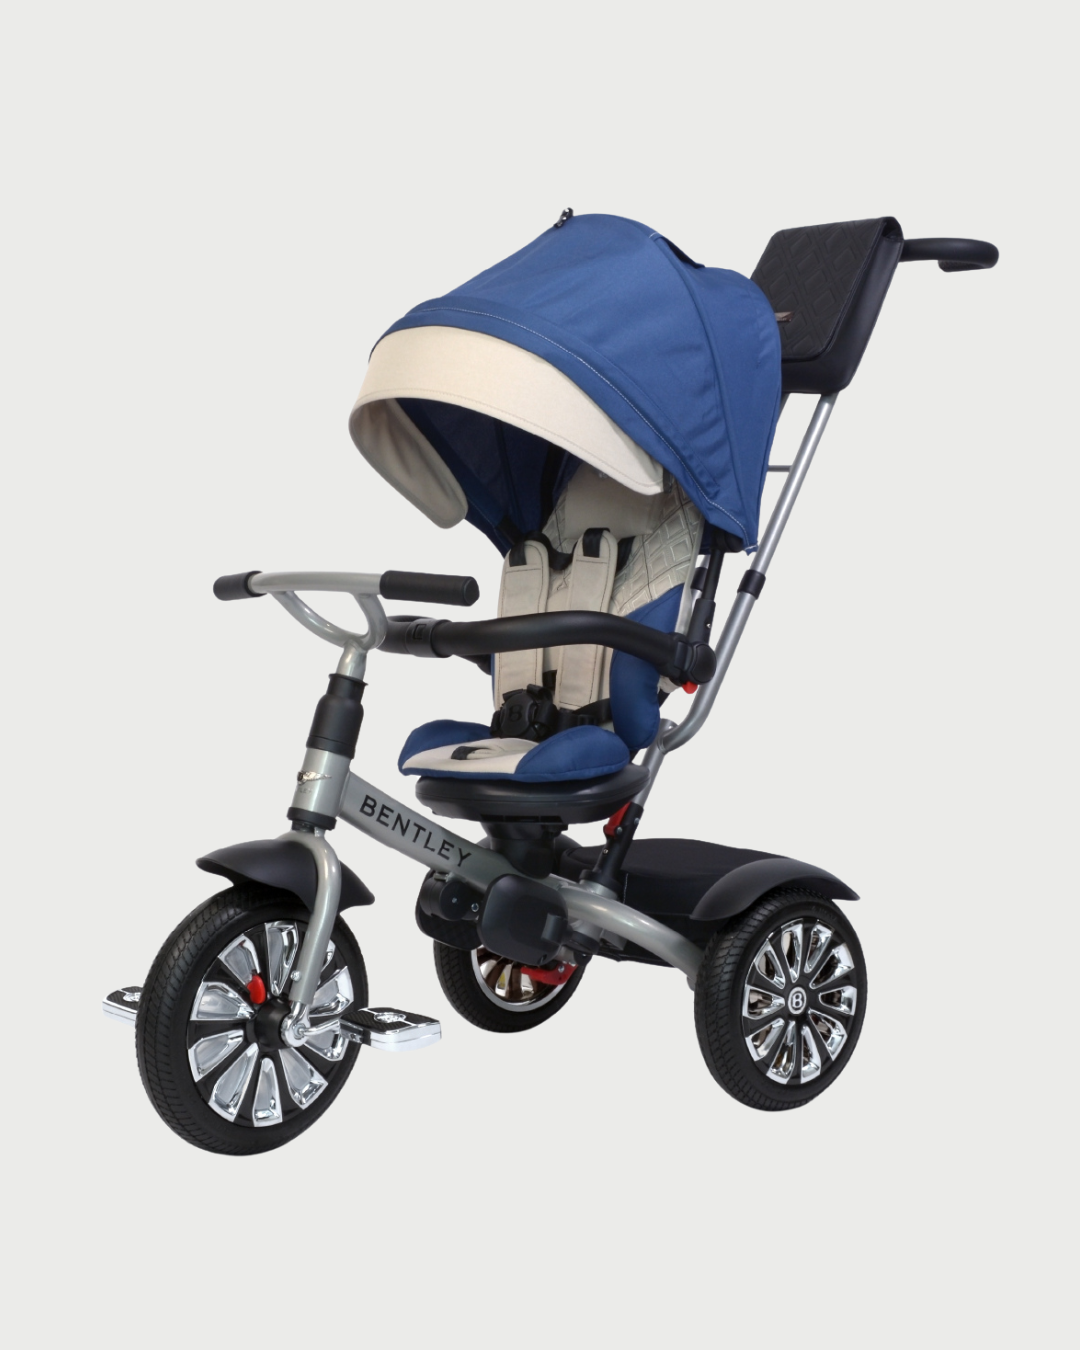
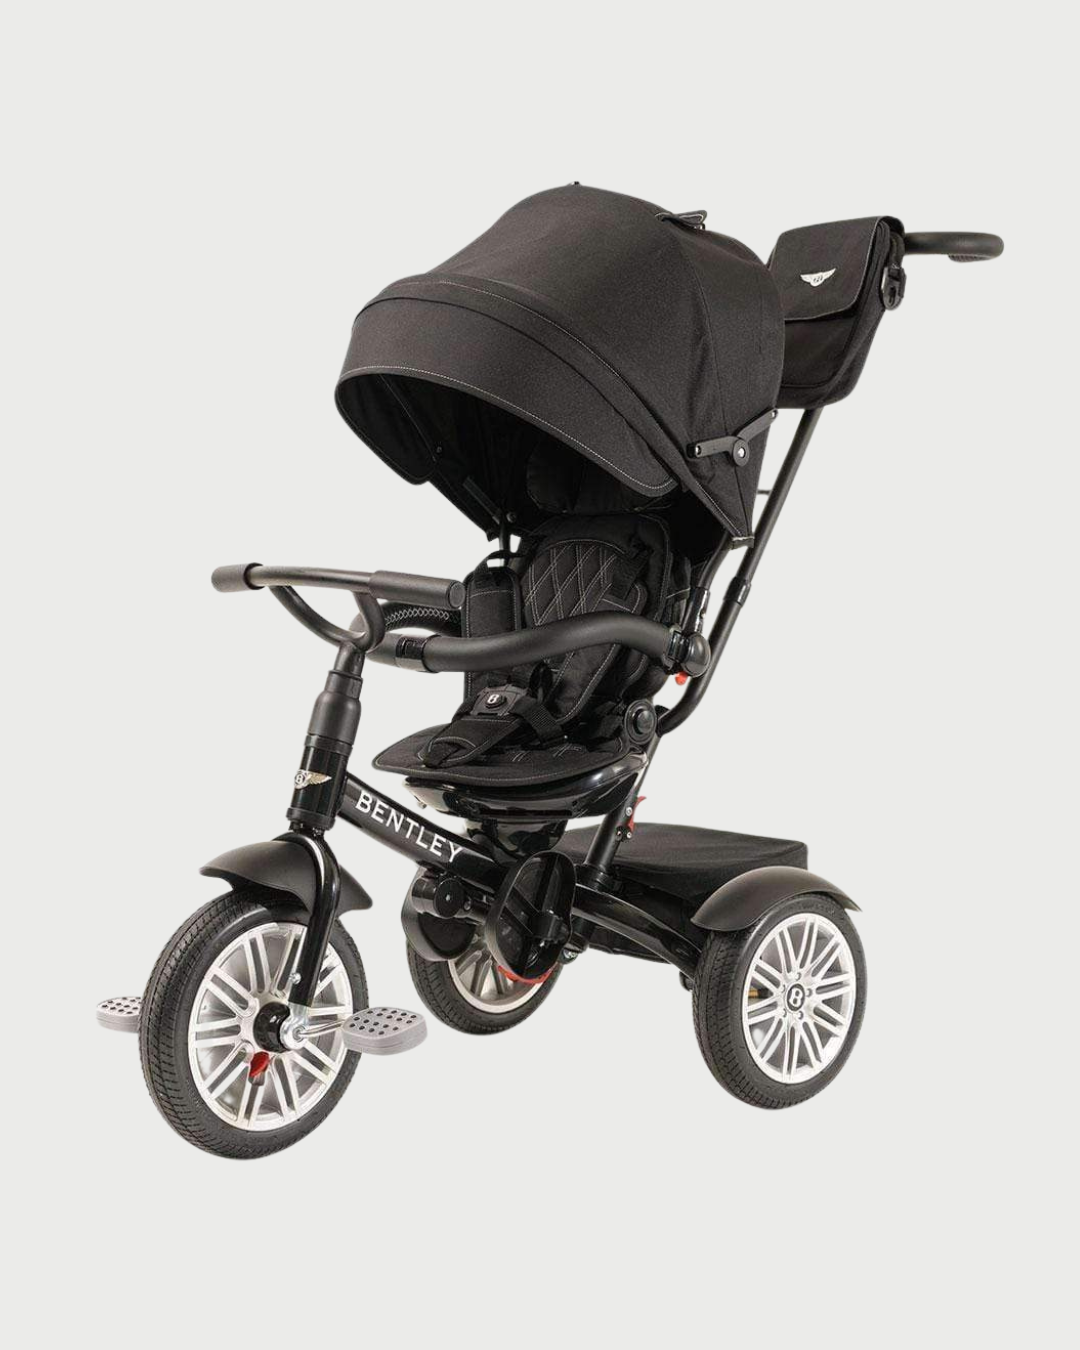
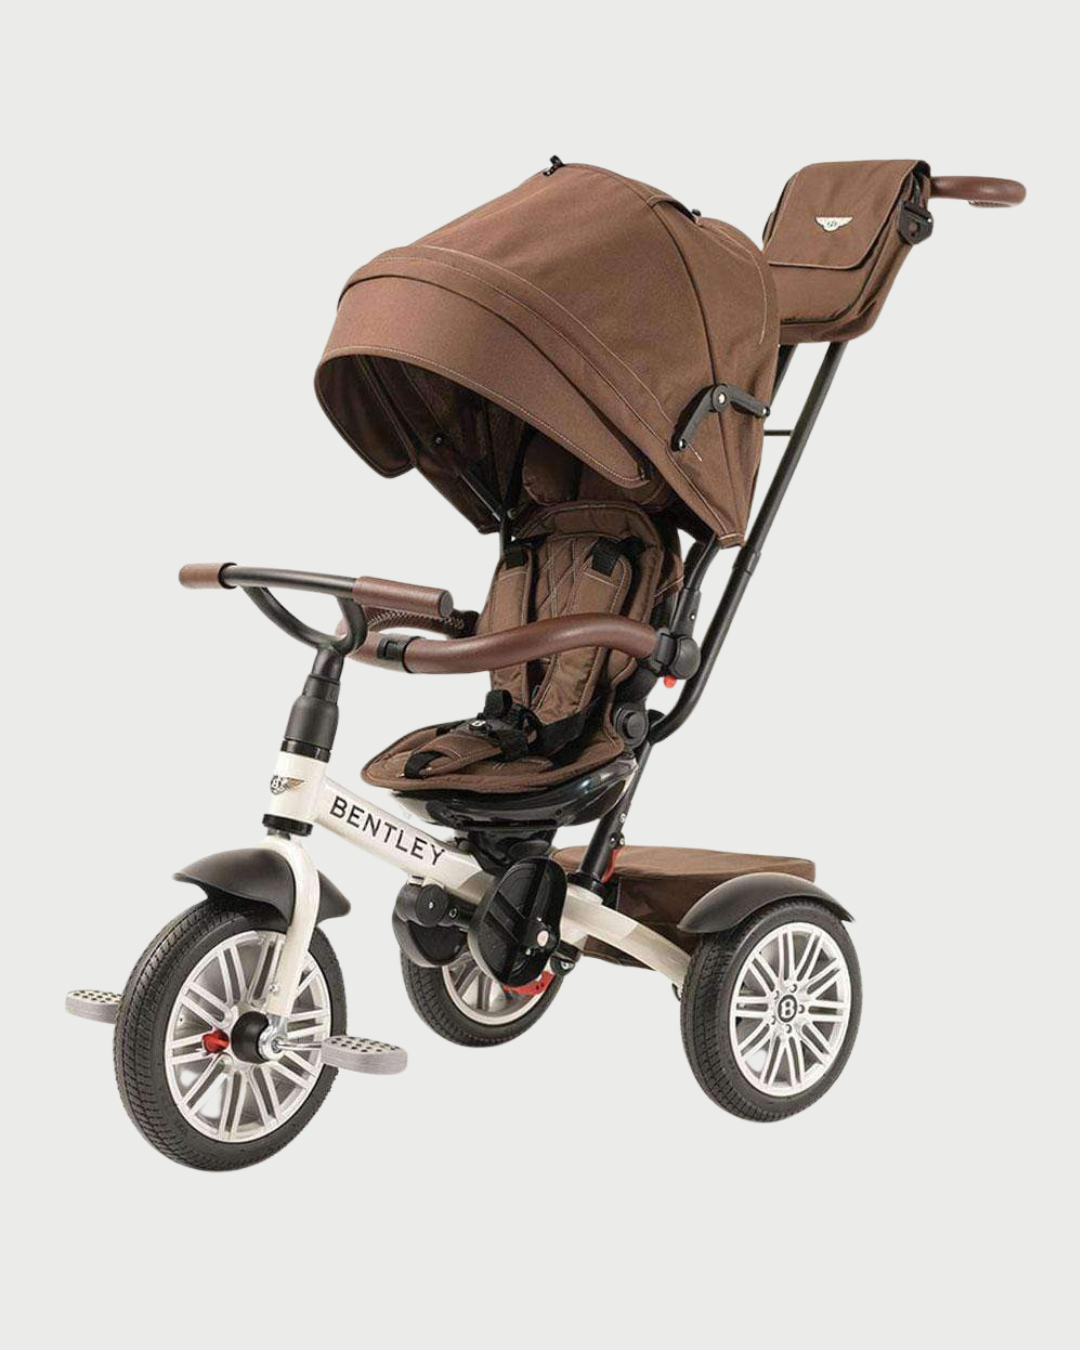
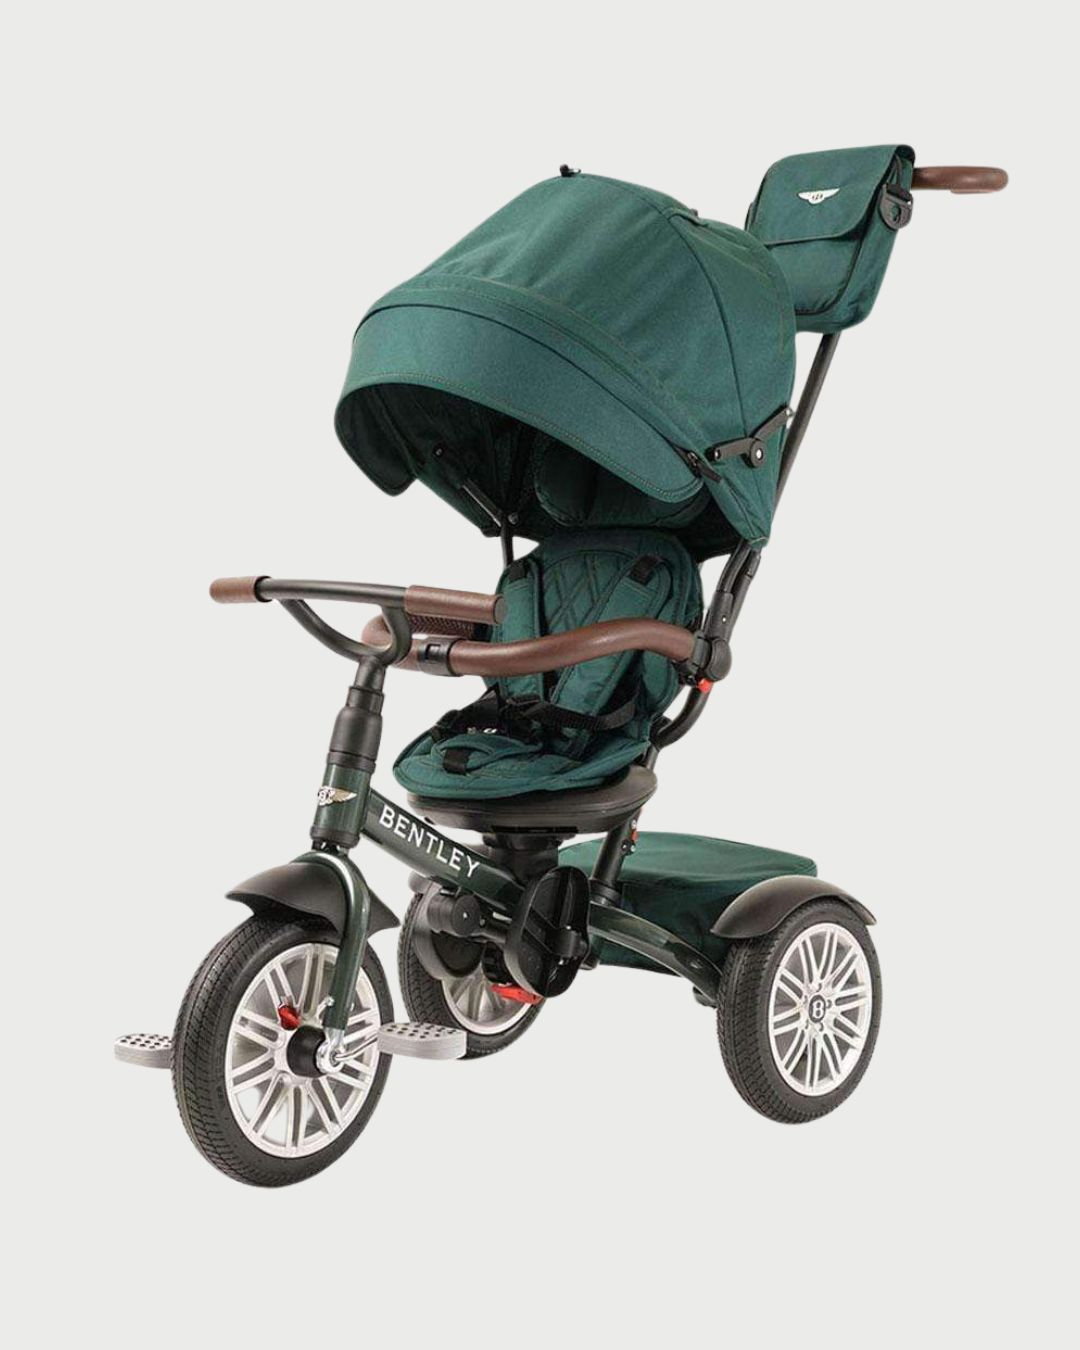
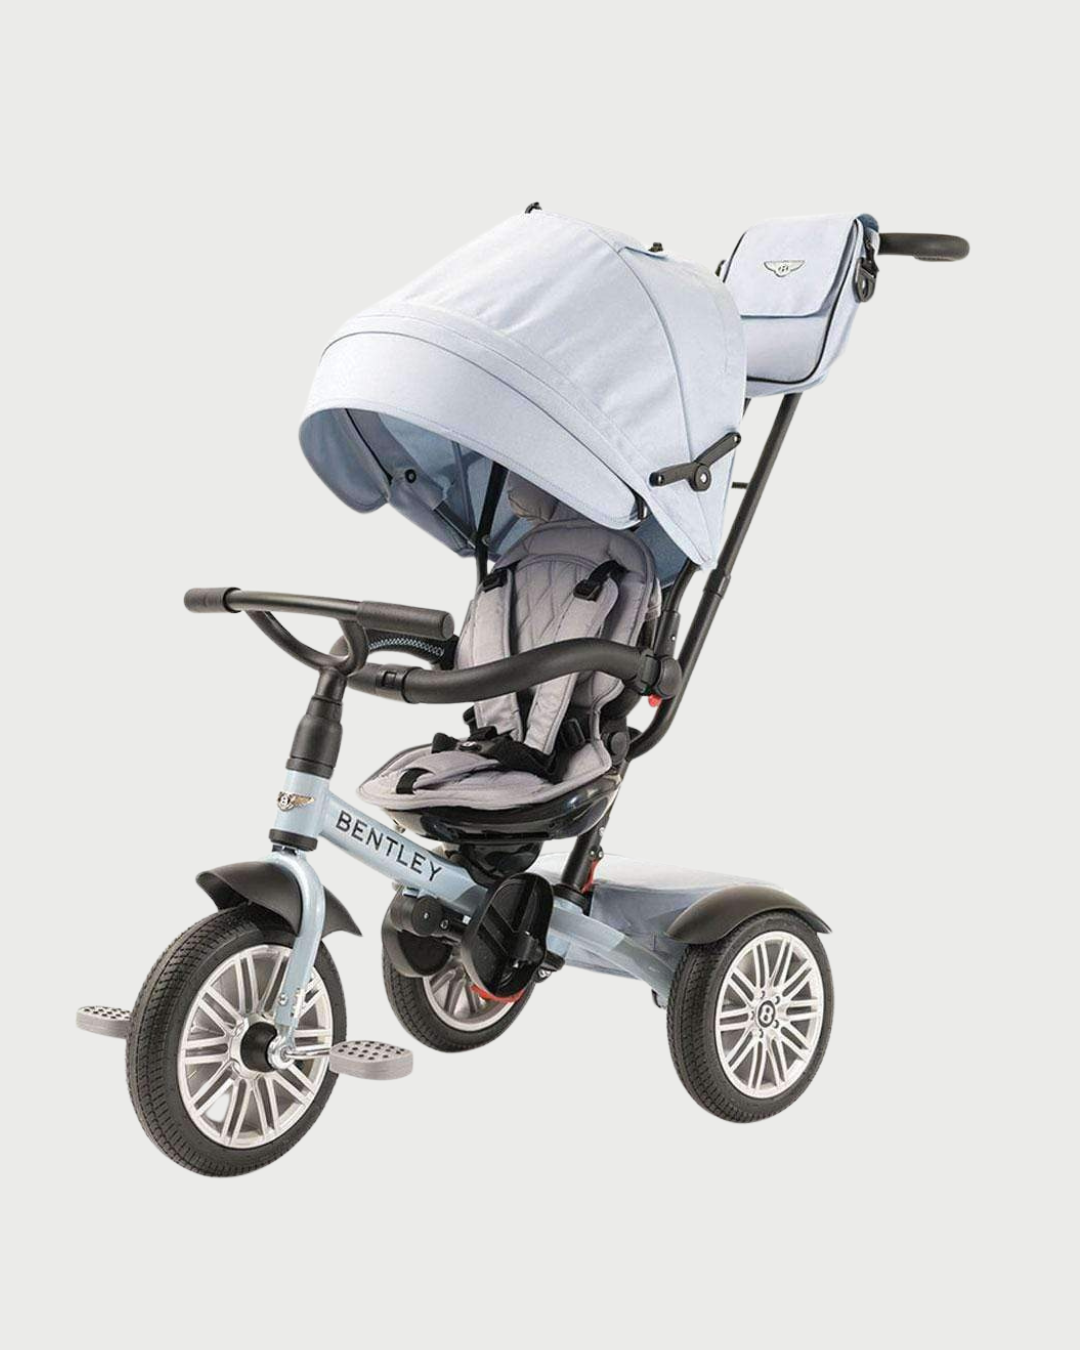
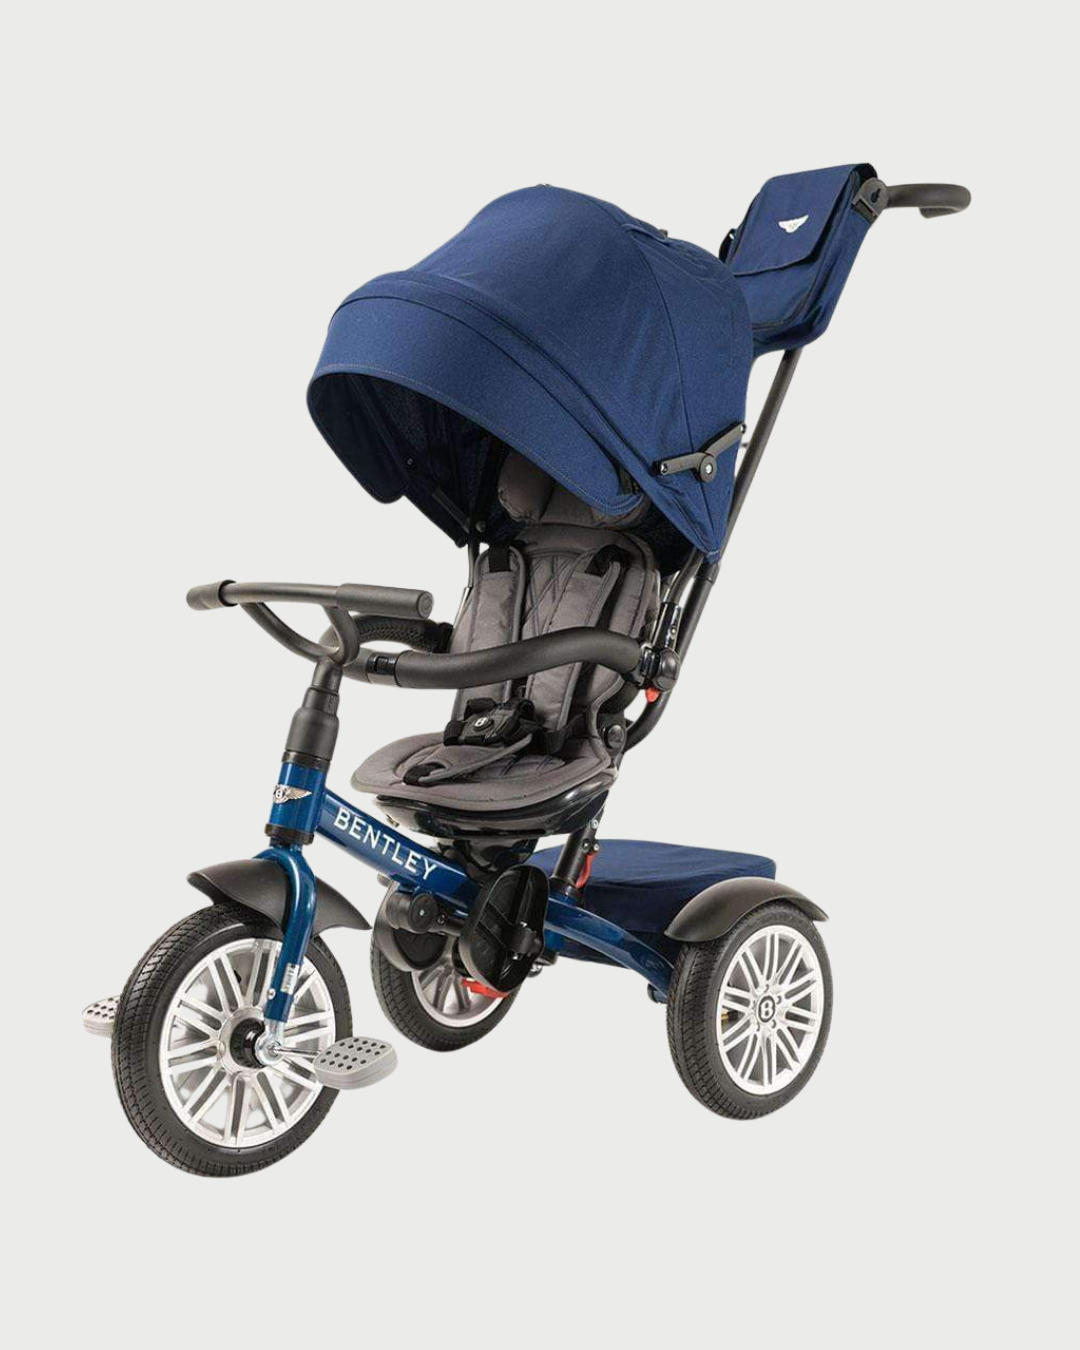
Explore Our Bentley Trike Collection